Background

Saturday, March 31, 2012

 I am working on the Sue Spargo BOM for 2011 (I haven't started 2012 yet, but it looks wonderful) and I was really having a hard time getting the cotton appliqued onto the wool and having it come out as nice as I want it to be.

Since I'm used to the back-basting method of applique I was having a heck of a time figuring out how to get the pattern on there, since you can't put wool on a light box and trace around a pattern.


I first drew the pattern onto freezer paper and cut it out.  Then I pressed it onto the cotton fabric, which was pinned to the wool background.  Then I stitched around the freezer paper with floss, same as I would have done with back-basting it from the back.  I just "front-basted" it.


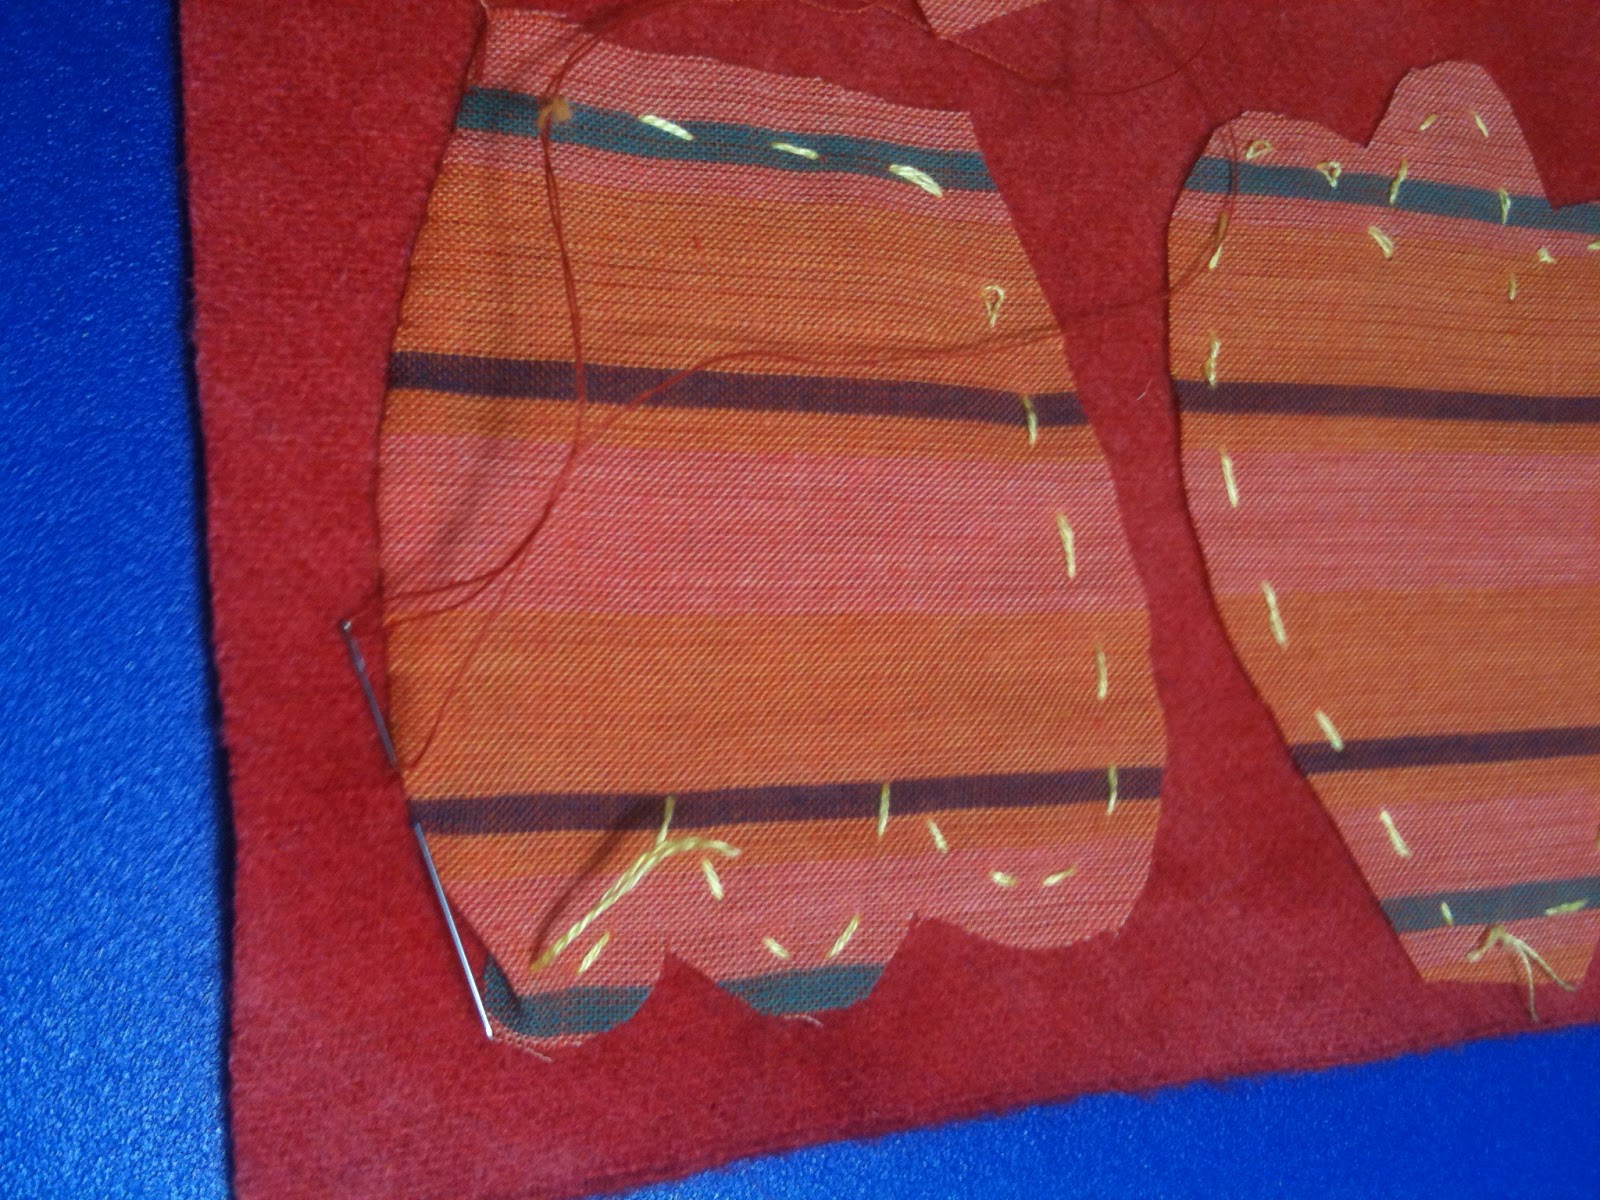
Then I removed the freezer paper, and trimmed 1/4" (or less) around the stitching, just as I would have done with back-basting.  

I don't know if these pictures are in exact order, but I'm sure you get the idea.  Now I just had to applique those pieces and then cut the wool behind them to the right size.  It worked great and I've already used this method on something else I was working on.


Thought I'd show you a problem that I was having trying to make some bias stems for a few leaf blocks.  I top-stitched the stem across the square and then I needed to square it up.


 Here is where it jammed in the sewing machine and got all twisted.  I kept thinking that there has to be a much easier way to do this, so this is what I came up with.


I sewed a long strip of the straight-of-grain stem across a larger square (corner to corner on the bias).


Then I cut the squares out of that piece of fabric.  Trimmed from one side, turned, and then trimmed the other side to get the size I needed.  It worked great.  Frustrations over!